When it is not possible to perform a metallographic examination by taking a sample directly from a part to be checked, an investigation can be performed through a replica process. After a proper surface preparation, cellulose acetate sheets are used to make a copy or “replica” of the microstructure of the metal surface to be examined.
The replica process is an option within the field of nondestructive testing (NDT) (surface inspection) that has been used in industry for some time. Special applications include geometries and wear measurements on assembly parts. The process is also used in the nuclear industry and fulfills the specific requirements for application to nuclear components. Replicas can be performed in air as well as under water.
Because indications are evaluated on the replica and not on the component itself, this process provides for flexible component handling.
Westinghouse has developed a process and tools for the measurement of wear that includes the visual inspection and measurement of the wear indication on the performed replicas. This is of great use when accessibility is a concern.
The main process steps are:
The performed replica can be evaluated destructively and non-destructively using conventional measurement instruments. The replica material has been qualified for use in the nuclear primary system, fulfilling all requirements for materials used in a primary water environment. The replica material has the following properties:
The benefits of the replica process within the NDT field include the following:
The quality of the replica process was proven during the qualification phase. The first on-site application of the process took place in a German nuclear power plant. Since then the process has been used frequently by Westinghouse throughout Europe.

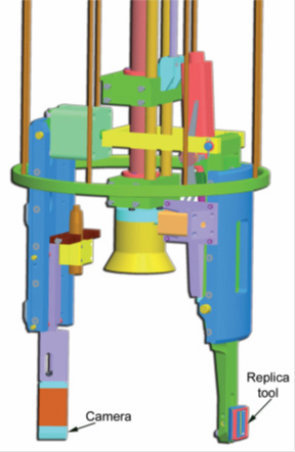
Manipulator for pump housing inspection

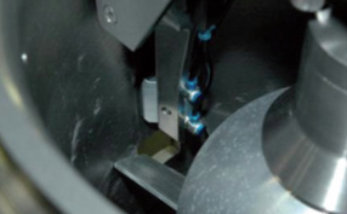
Replica tool

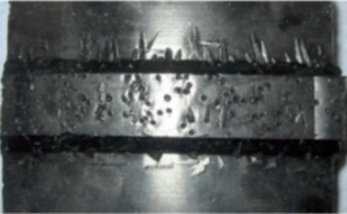
Test replica

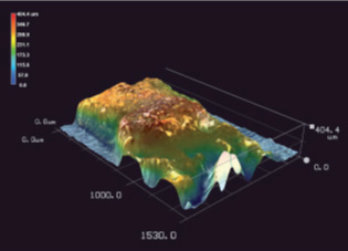
Digital microscope picture of replica